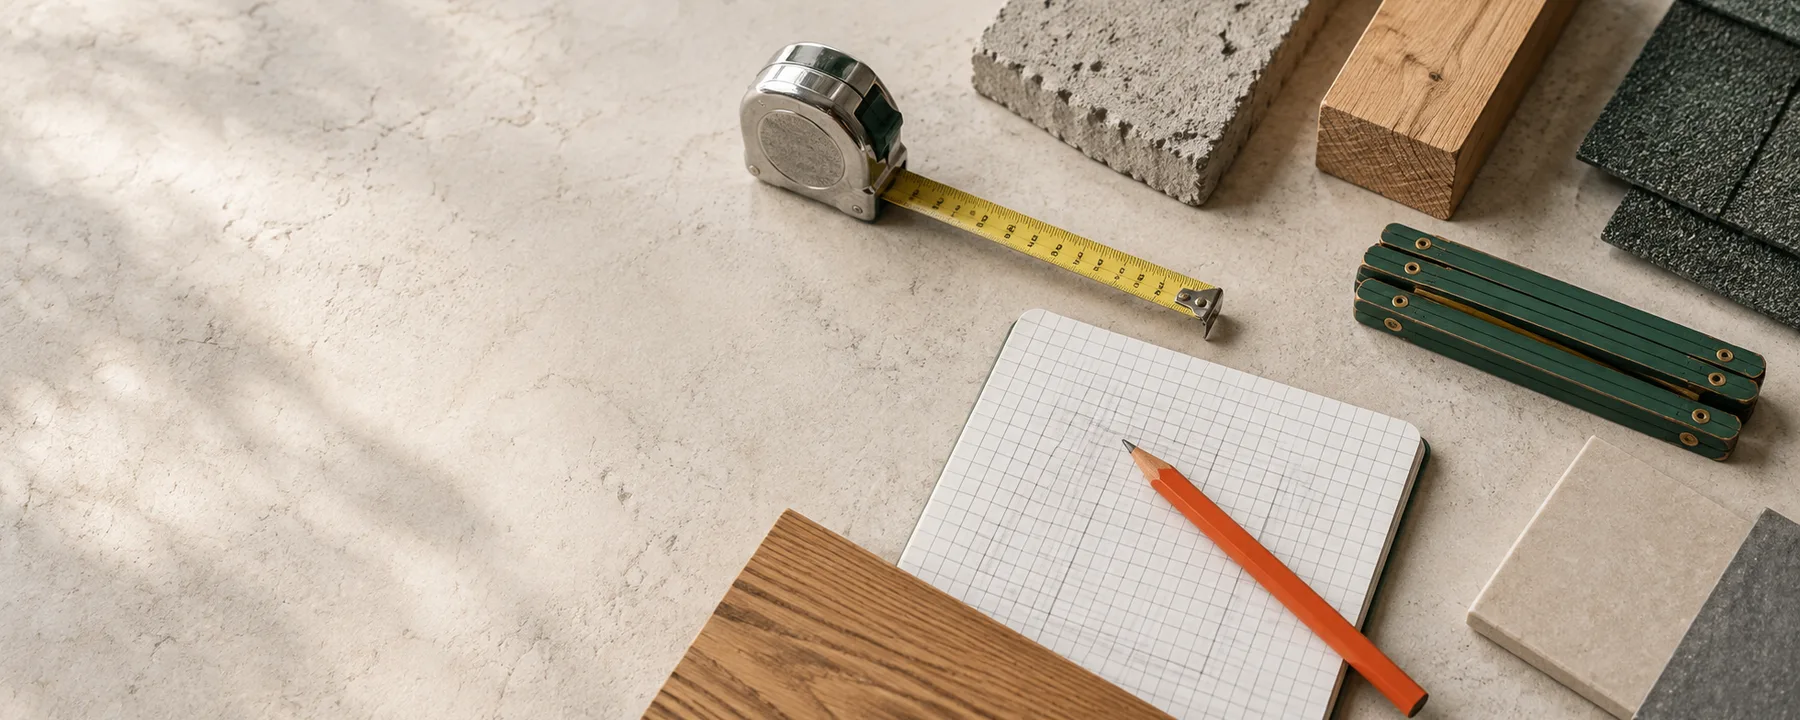
How to Measure for Building Materials
Good material estimates begin before the calculator. Use one measured sketch, separate installed geometry from product assumptions, and keep every unit visible from the first dimension to the final package count.
Start with a measured sketch
Draw the project as a set of simple rectangles, triangles, circles, or straight runs. Label every dimension with its unit. A rough sketch with complete dimensions is more useful than a polished drawing that leaves the depth, opening area, or count uncertain.
Measure the physical surface that will receive the material. For a wall, that normally means length and height. For a floor or patio, measure the finished footprint. For a slab, bed, footing, or fill layer, depth is a third dimension and must be recorded separately.
- Record feet and inches explicitly.
- Measure repeated sections once, then record the exact count.
- Keep irregular sections separate until their areas are calculated.
- Photograph product labels so coverage and package size are available later.
Calculate net area before adding extra material
Square footage is usually length multiplied by width. Add the areas of separate sections, then subtract only surfaces that truly will not receive material. A door opening can reduce paint or drywall area, but a small opening may not reduce the number of whole sheets, tiles, or wallpaper drops required by the layout.
This is why GQ Calc shows net geometry separately from the order quantity. The geometric answer describes the project. Cutting allowance, damage, pattern matching, breakage, and whole-package rounding belong to later steps.
Convert depth before calculating volume
Volume estimates fail when feet and inches are mixed inside the same multiplication. Convert an inch depth to feet by dividing by 12, then multiply length × width × depth. Convert cubic feet to cubic yards only after the full cubic-foot volume is known; one cubic yard equals 27 cubic feet.
Use an average installed depth when the grade varies, and measure distinct deep or shallow zones separately when one average would hide a large difference. For compacted aggregate, distinguish the compacted design volume from the loose quantity delivered to the site.
Keep product-label values separate
Coverage per box, bag yield, bulk density, roll dimensions, pallet coverage, and pieces per package are product data—not universal constants. Enter the value for the exact SKU you plan to buy. If a label gives a range, calculate the conservative end when running short would stop the job.
Do not confuse package weight with finished volume. An 80 lb concrete bag, a 50 lb sand bag, and a 50 lb jointing product can have very different yields. The package label or current technical sheet controls the conversion.
Apply waste once and round packages last
A clean order sequence is net quantity → waste or extra allowance → package division → round up. Applying the same percentage to both installed quantity and already padded package coverage counts the allowance twice. Rounding early can also compound the excess.
Treat a default waste percentage as an editable planning value. Layout, pattern, material size, installer experience, return policy, and the ability to buy matching material later all change the appropriate allowance.
Field checklist
- Sketch every distinct section.
- Write a unit beside every dimension.
- Separate openings and exclusions.
- Record installed depth, not only excavation depth.
- Copy yield or coverage from the exact product.
- Apply one explicit allowance.
- Round only the final package count upward.
Questions people ask
Should I measure in feet or inches?
Use whichever unit matches the drawing or tape, but label it clearly and convert before multiplying mixed units. GQ Calc can accept US customary or metric inputs on calculator pages.
Do I subtract every door and window?
Subtract openings from net surface area only when they genuinely reduce the installed material. Whole-sheet, tile, or wallpaper layouts may still need material that spans around small openings.
When should waste be added?
Calculate net geometry first, apply one explicit allowance second, and round whole packages up last.
Which product number matters most?
Use the exact label value that connects geometry to the purchase unit: finished bag yield, square feet per box, coverage per roll, bulk density, or pieces per package.
References
Product values and installation requirements can change. Use current project documents and the exact product label for the material you plan to buy.
- GQ Calc calculation methodology Documents the site-wide unit, waste, package-rounding, and testing rules.
- NIST Guide for the Use of the International System of Units Reference for consistent SI use and conversion practice.
Calculators for this guide
Each tool keeps net geometry, allowances, and package rounding visible.